
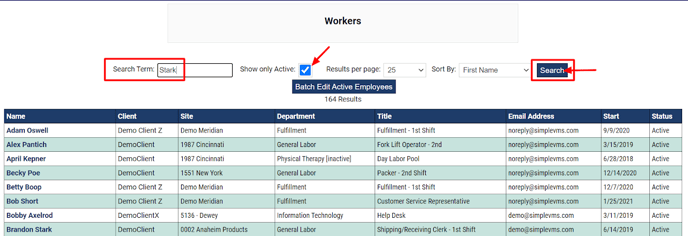
To create a timesheet for your worker, from the 'Workers' tab search for or select the name of worker you need to create a timesheet for within the system.
To locate the worker:
-
Type a few letters of the first or last name.
-
Uncheck the 'Show only Active' box if the worker you are wanting to view is no longer on assignment.
-
Select 'Search' and then select the name of the worker you wish to view to open their worker profile.
When the worker profile opens up, select the hyperlink 'View Time & Expenses for this Worker'.

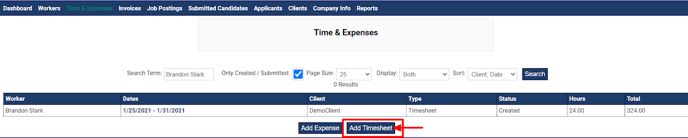
When this hyperlink is selected the system will open the Time & Expenses tab and showcase to you the 'created/submitted' timesheets for the worker. If you wish to view approved or rejected timesheets as well you will need to uncheck the 'Only Created/Submitted' checkbox found at the top of the page.
To add a timesheet, select 'Add Timesheet'.
-
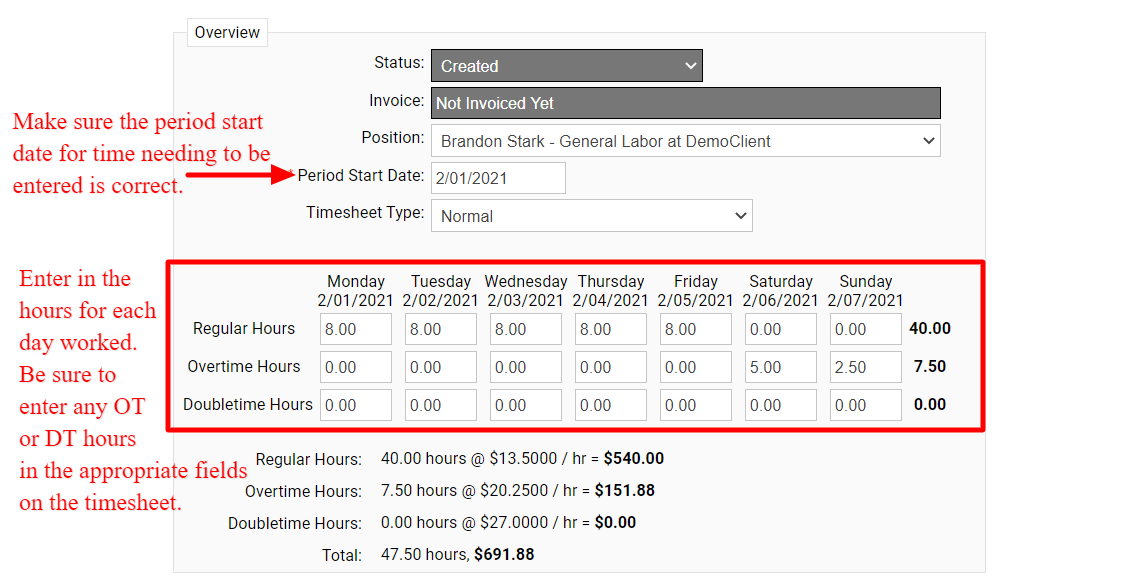
Enter the period start date for the work week for time needing to be entered.
-
Enter in the number of hours worked for each day. Be sure to allocate any hours that should be OT or DT in the appropriate fields on the timesheet.
Scroll to the bottom of the timesheet and select either 'Save New Timesheet' or 'Submit Timesheet'. If you select 'Save' you will still be able to make changes to this timesheet if needed. If you select 'Submit' you will not be able to make any changes to the timesheet. Saved or submitted timesheets will both be visible to the client to review and approve. Once approved the timesheet will be on the next invoice the system generates.
